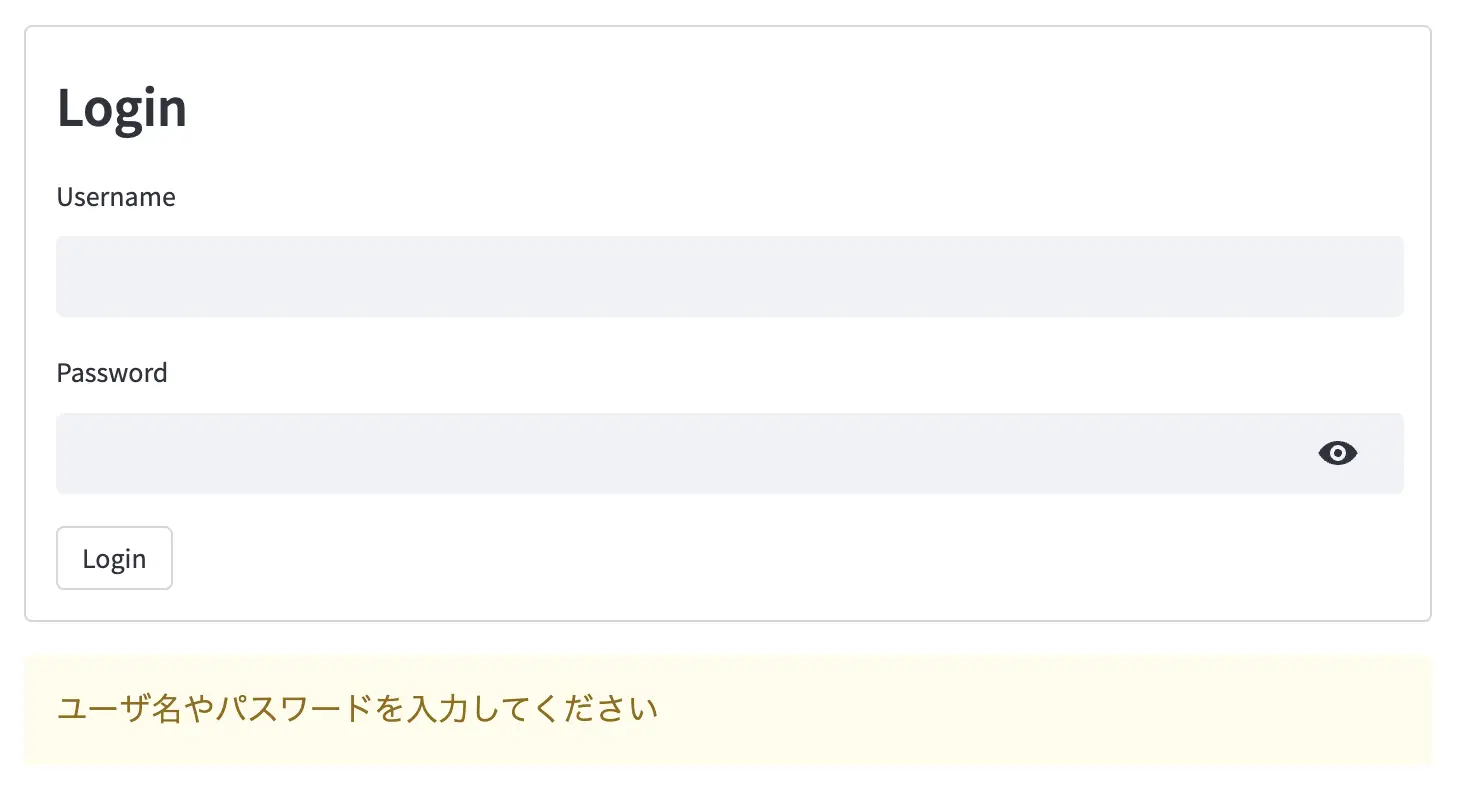
概要
- Streamlitでログイン機能の実装をします
- 子ページを用いたログイン機能の実装も行います
ログイン機能の実装
まずは以下のようにファイルを用意します。
1
2
|
├── main.py
└── config.yaml
|
ターミナルからauthenticatorのインストールを行います。
1
|
pip install streamlit-authenticator
|
先ほど用意したmain.pyに以下のように書き込んでください。
 1
 2
 3
 4
 5
 6
 7
 8
 9
10
11
12
13
14
15
16
17
18
19
20
21
22
23
24
25
26
27
28
29
30
31
|
# main.py

import streamlit as st
import streamlit_authenticator as stauth
import yaml

with open('config.yaml') as file:
    config = yaml.load(file, Loader=yaml.SafeLoader)

authenticator = stauth.Authenticate(
    config['credentials'],
    config['cookie']['name'],
    config['cookie']['key'],
    config['cookie']['expiry_days'],
    config['preauthorized'],
)

name, authentication_status, username = authenticator.login('Login', 'main')


if 'authentication_status' not in st.session_state:
    st.session_state['authentication_status'] = None

if st.session_state["authentication_status"]:
    authenticator.logout('Logout', 'main')
    st.write(f'ログインに成功しました')
		# ここにログイン後の処理を書く。
elif st.session_state["authentication_status"] is False:
    st.error('ユーザ名またはパスワードが間違っています')
elif st.session_state["authentication_status"] is None:
    st.warning('ユーザ名やパスワードを入力してください')
|
すでにstreamlitの処理を書いている場合は27行目にインデントを揃えて挿入してください。
ユーザ情報の作成
次にユーザのログイン情報を作成します。
ここでは仮の値ですが、以下のようにユーザ情報を決めました。
まずはターミナルから以下のようにパスワードのハッシュ値を生成します。
1
2
3
4
|
$ python3
>> import streamlit_authenticator as stauth
>> stauth.Hasher(['password']).generate()
['$2b$12$BTnvK9H8BJV9UBp/fCK3iOpAor4a2lCSZpoUZmPK0NY0WNZ3L34pS']
|
最後の行に出力された値がハッシュ値です。これを用いて以下のようにconfig.yamlへ記載します。
 1
 2
 3
 4
 5
 6
 7
 8
 9
10
11
12
13
|
cookie:
  expiry_days: 10
  key: some_signature_keys
  name: some_cookie_name
credentials:
  usernames:
    hoge:
      email: [email protected]
      name: Hoge chan
      password: $2b$12$BTnvK9H8BJV9UBp/fCK3iOpAor4a2lCSZpoUZmPK0NY0WNZ3L34pS
preauthorized:
  emails:
  - [email protected]
|
expiry_daysはログイン情報を保持しておく日数を表しています。毎回ログインさせたい場合はここを0にしましょう。
emailやname、preauthorizedの値は今回使わないので適当です。
これでログイン機能の実装ができましたので、動かしてみましょう。

hogeとpasswordを入力することでログインできます。
未ログインの状態で個別ページを隠す方法
Streamlitは子ページを作成することができます。
1
2
3
4
5
|
├── main.py
├── config.yaml
└── pages
    ├── 00_ページ1.py
    └── 01_ページ2.py
|
上記のように「pages」というフォルダを用意することで、ページ1とページ2という個別のページを作成することができます。
しかし、先ほど作成したログインページはmain.pyでしか動作しないため、未ログインの状態でもページ1やページ2は丸見えになってしまいます。
そこでログインしているかどうかを判定し、個別ページを表示/非表示を行えるようにしたいと思います。
ターミナルを開き以下のモジュールをインストールします。
1
|
pip install extra_streamlit_components
|
 1
 2
 3
 4
 5
 6
 7
 8
 9
10
11
12
|
# ページ1.pyの中に記載
import streamlit as st
import extra_streamlit_components as stx

#ログインの確認
value = stx.CookieManager().get(cookie='some_cookie_name')
if value == None:
    st.warning("**ログインしてください**")
    st.stop()


# 以下にページの内容
|
子ページの1番上にcookieからログイン状態か否かを判断するコードを追記することで実現できます。
リロード時に認証を保持しておく方法
以下、エラー対応です。
Streamlitはページのリロードやリフレッシュでセッションが切れてしまいます。そのため以下のようにセッションでログイン状態を確認しようとするとエラーが出てしまうので注意してください。
1
2
3
|
if not st.session_state["authentication_status"]:
    st.warning("**ログインしてください**")
    st.stop()
|
共通を用いてスマートに書く
先ほどのcheck_login関数を全ての個別ページに記載するのは冗長になりますよね。
そこで共通処理としてファイルを分けてみましょう。
1
2
3
4
5
6
|
├── main.py
├── config.yaml
├── common.py
└── pages
    ├── 00_ページ1.py
    └── 01_ページ2.py
|
上記のようにcommon.pyを作成します。
1
2
3
4
5
6
7
8
9
|
# common.py
import extra_streamlit_components as stx

#ログインの確認
def check_login():
    value = stx.CookieManager().get(cookie='some_cookie_name')
    if value != []:
        st.warning("**ログインしてください**")
        st.stop()
|
1
2
3
4
5
6
7
|
# 個別ページ
import streamlit as st
import common

common.check_login()

# 以下にページの内容
|
